Website Design
The purpose of this project was to create a full-stack website from both the client side to the server side. While the website itself is visually simple, many different coding languages and techniques were used in it’s creation.
Beginning with the client side, 3 main pages were created: A widget page, schedule page, and form input page. CSS was used to display each page and was implemented by inline, embedded, and external page techniques. Each page displayed a navigation bar containing hyperlinks that allowed users to switch pages.
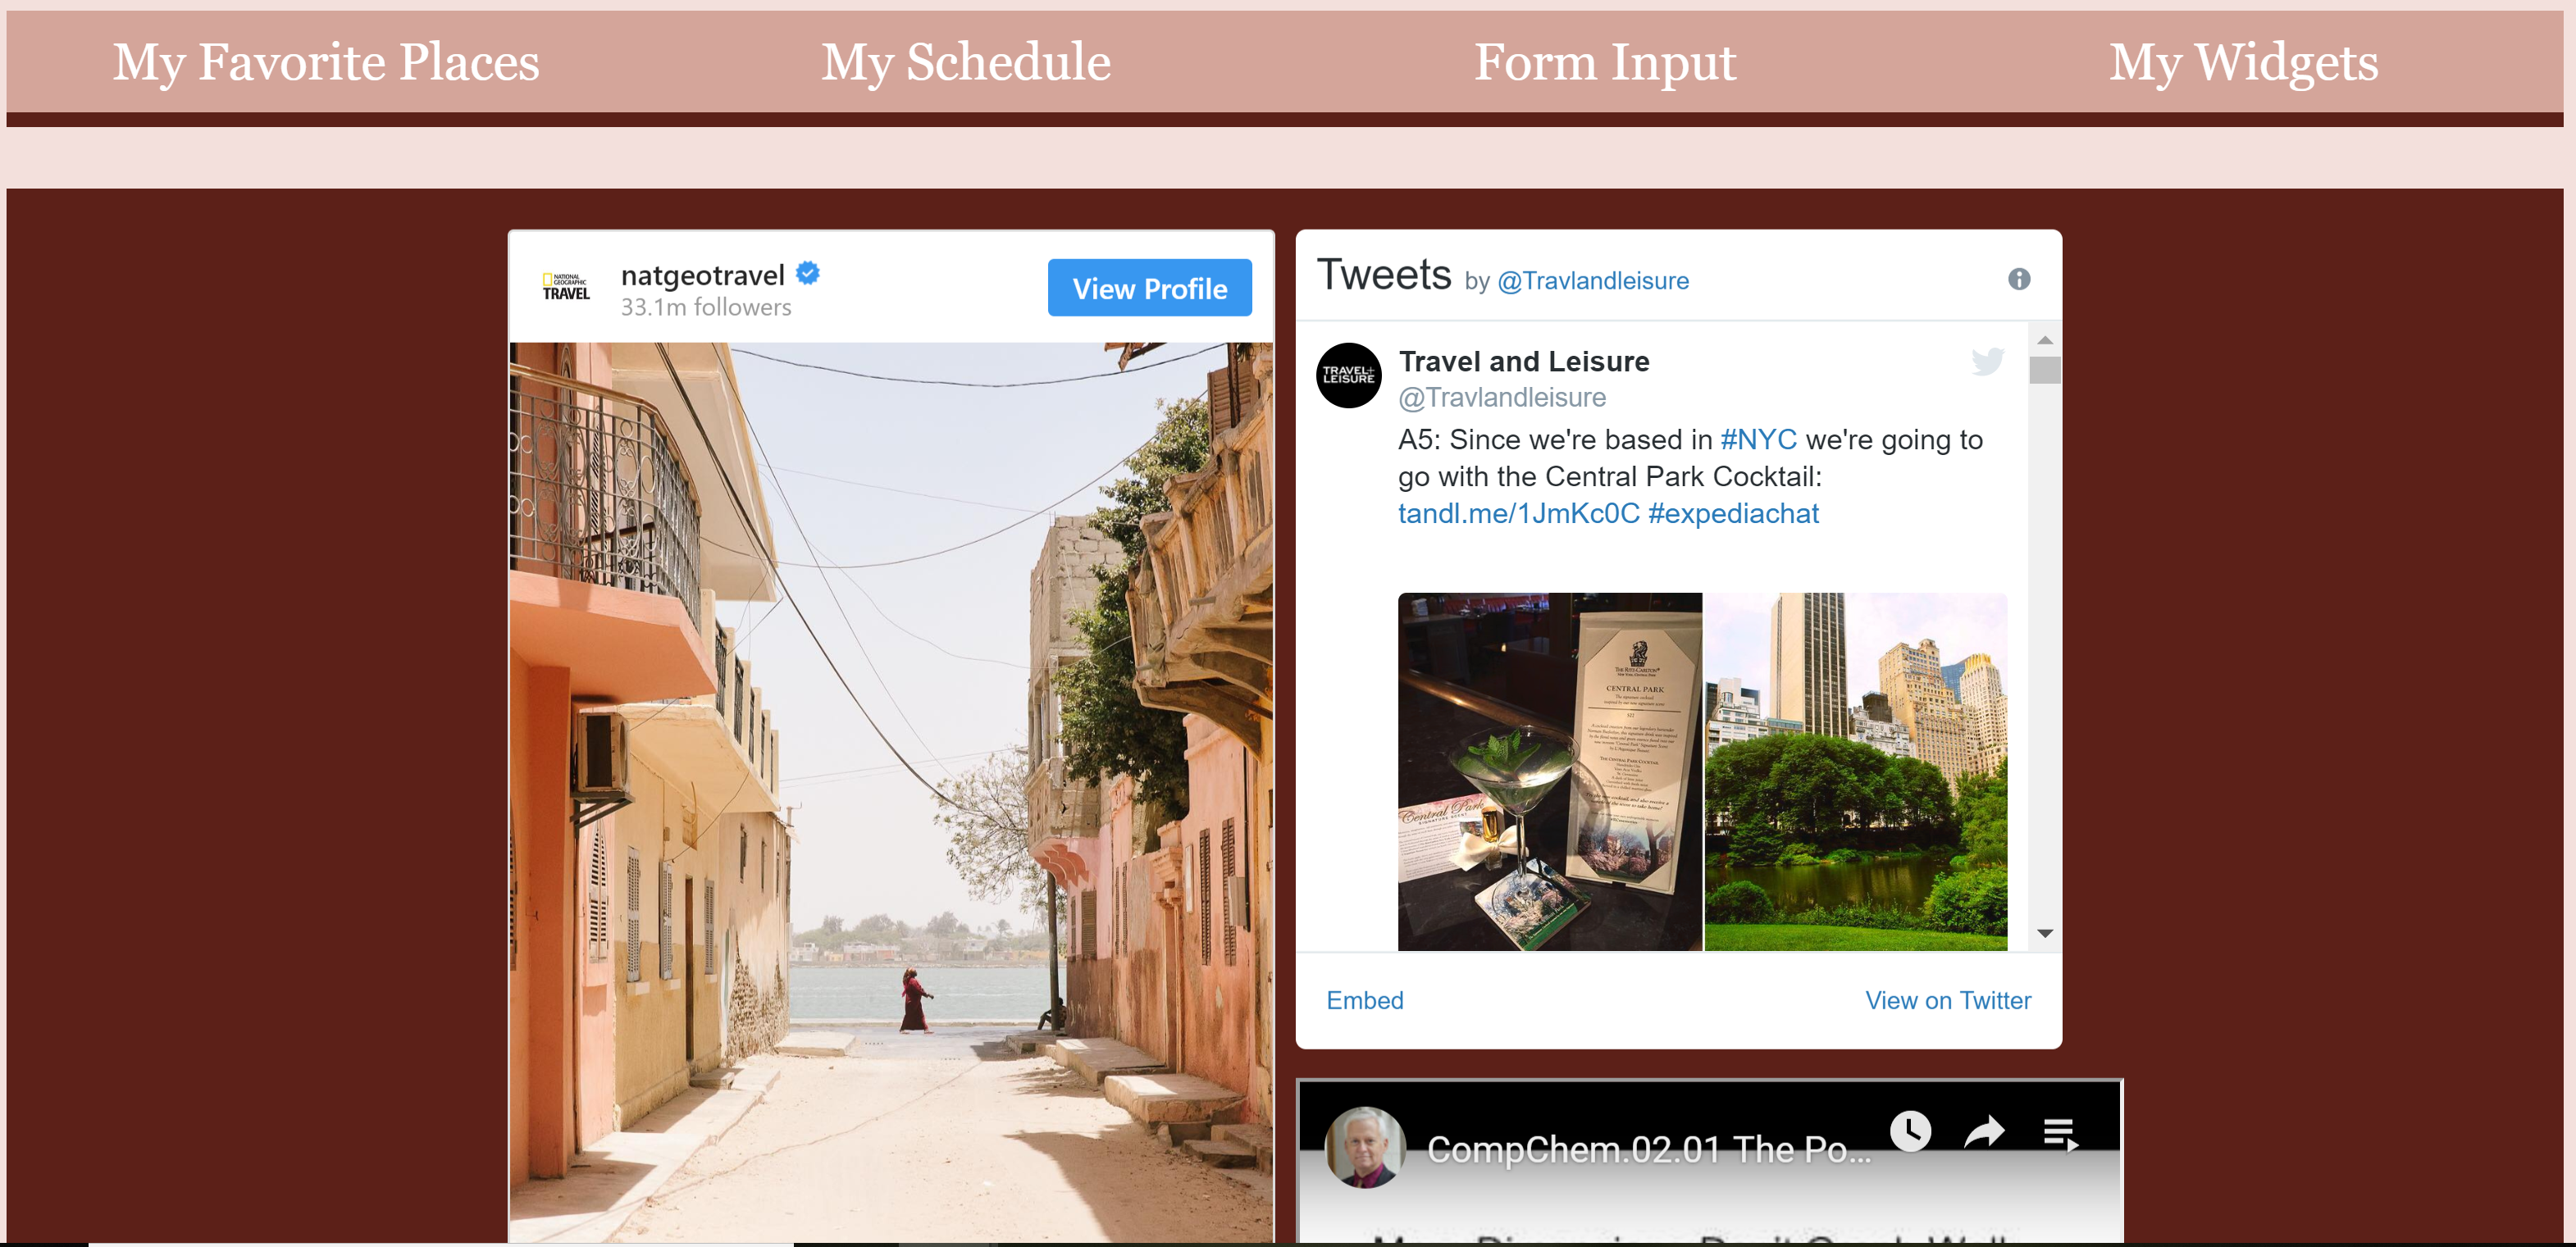 The widget page had 3 main components: an instagram widget, and twitter stream, and a password validator.The password validator let a user type in a password and it then displayed the strength of the password by a colored scale. The validator was implemented in two different ways, one using javascript and the other using jQuery.
The schedule page also had three main componenets: the actual schedule, a picture slideshow, and a map. All the schedule entries were saved in a database. When the page loaded, the database was accessed, the schedule table dynamically created, and displayed as can be seen in the picture. The events in the schedule each contain location hyperlinks and a thumbnail picture of the location, which are also displayed in a slideshow to the right of the schedule. 
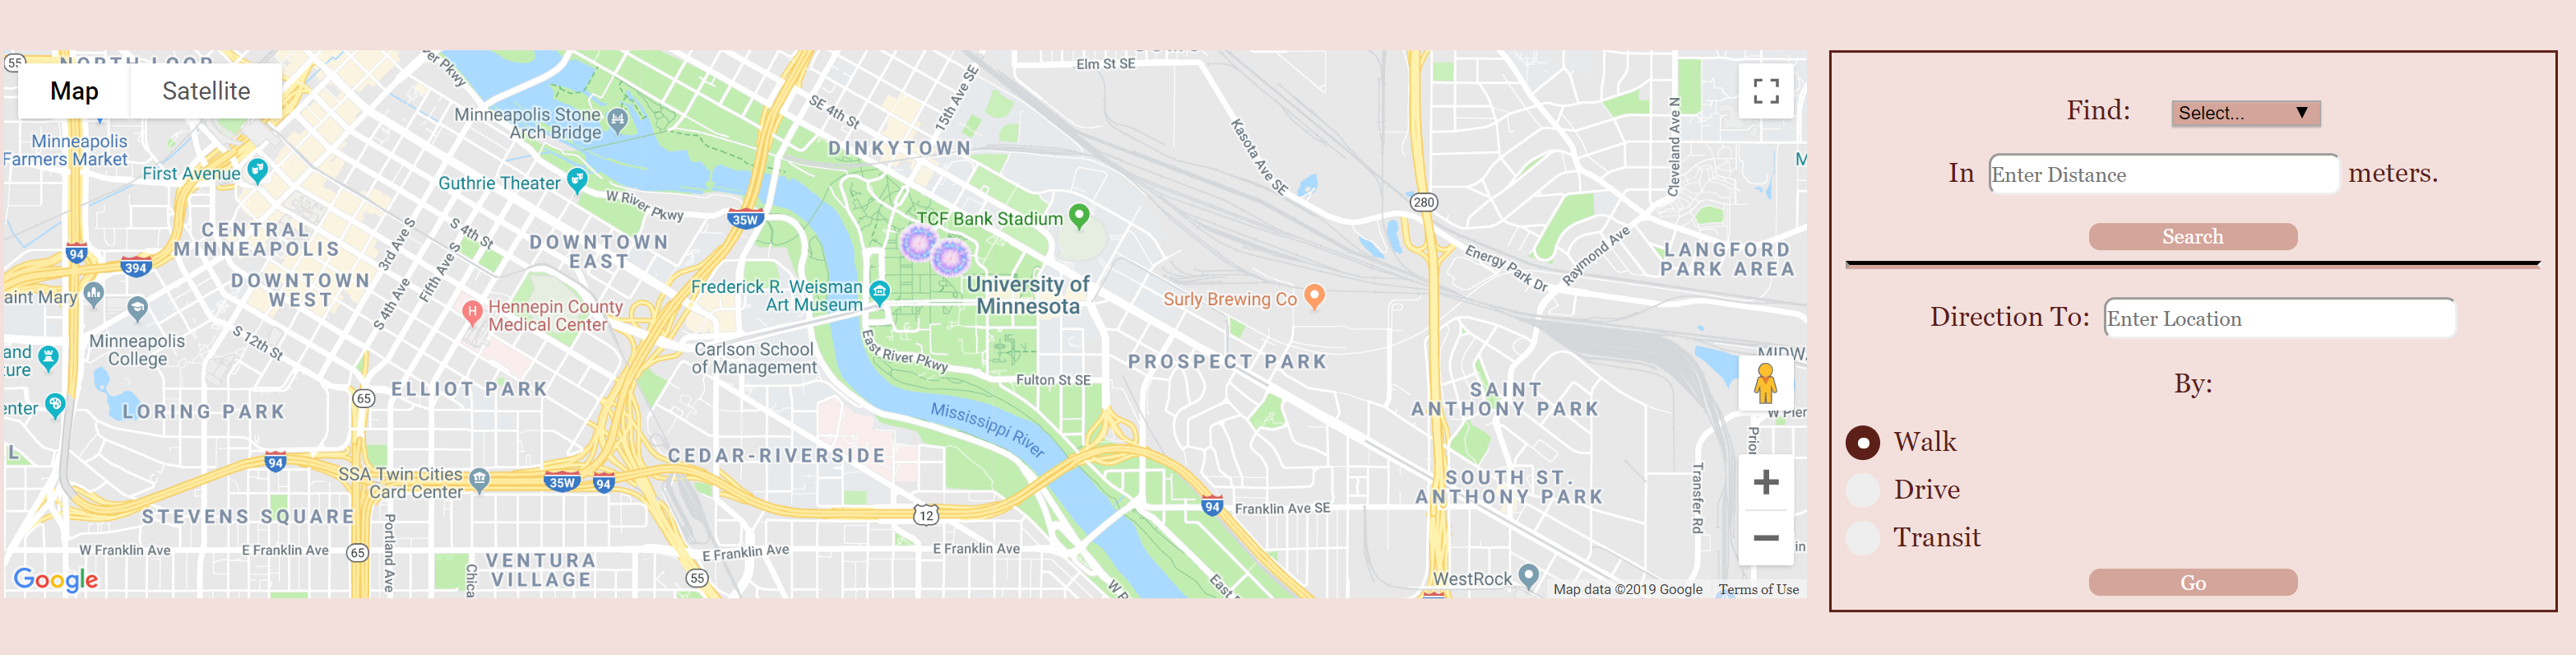
Below the schedule and slideshow is a Google Map with a distance form. The map is automatically populated with markers that correspond to locations in the schedule. In the form, the user can enter two locations, the method of how they would like to get to said location, and the method of measurement (miles, kilometers, etc). When they click ‘Go’ the map will then show the distance between the locations with the given specifications as well as display the directions, which uses Google Map APIs to obtain that information. Finally, the entire page can be translated to any other language using a Google Translate API.
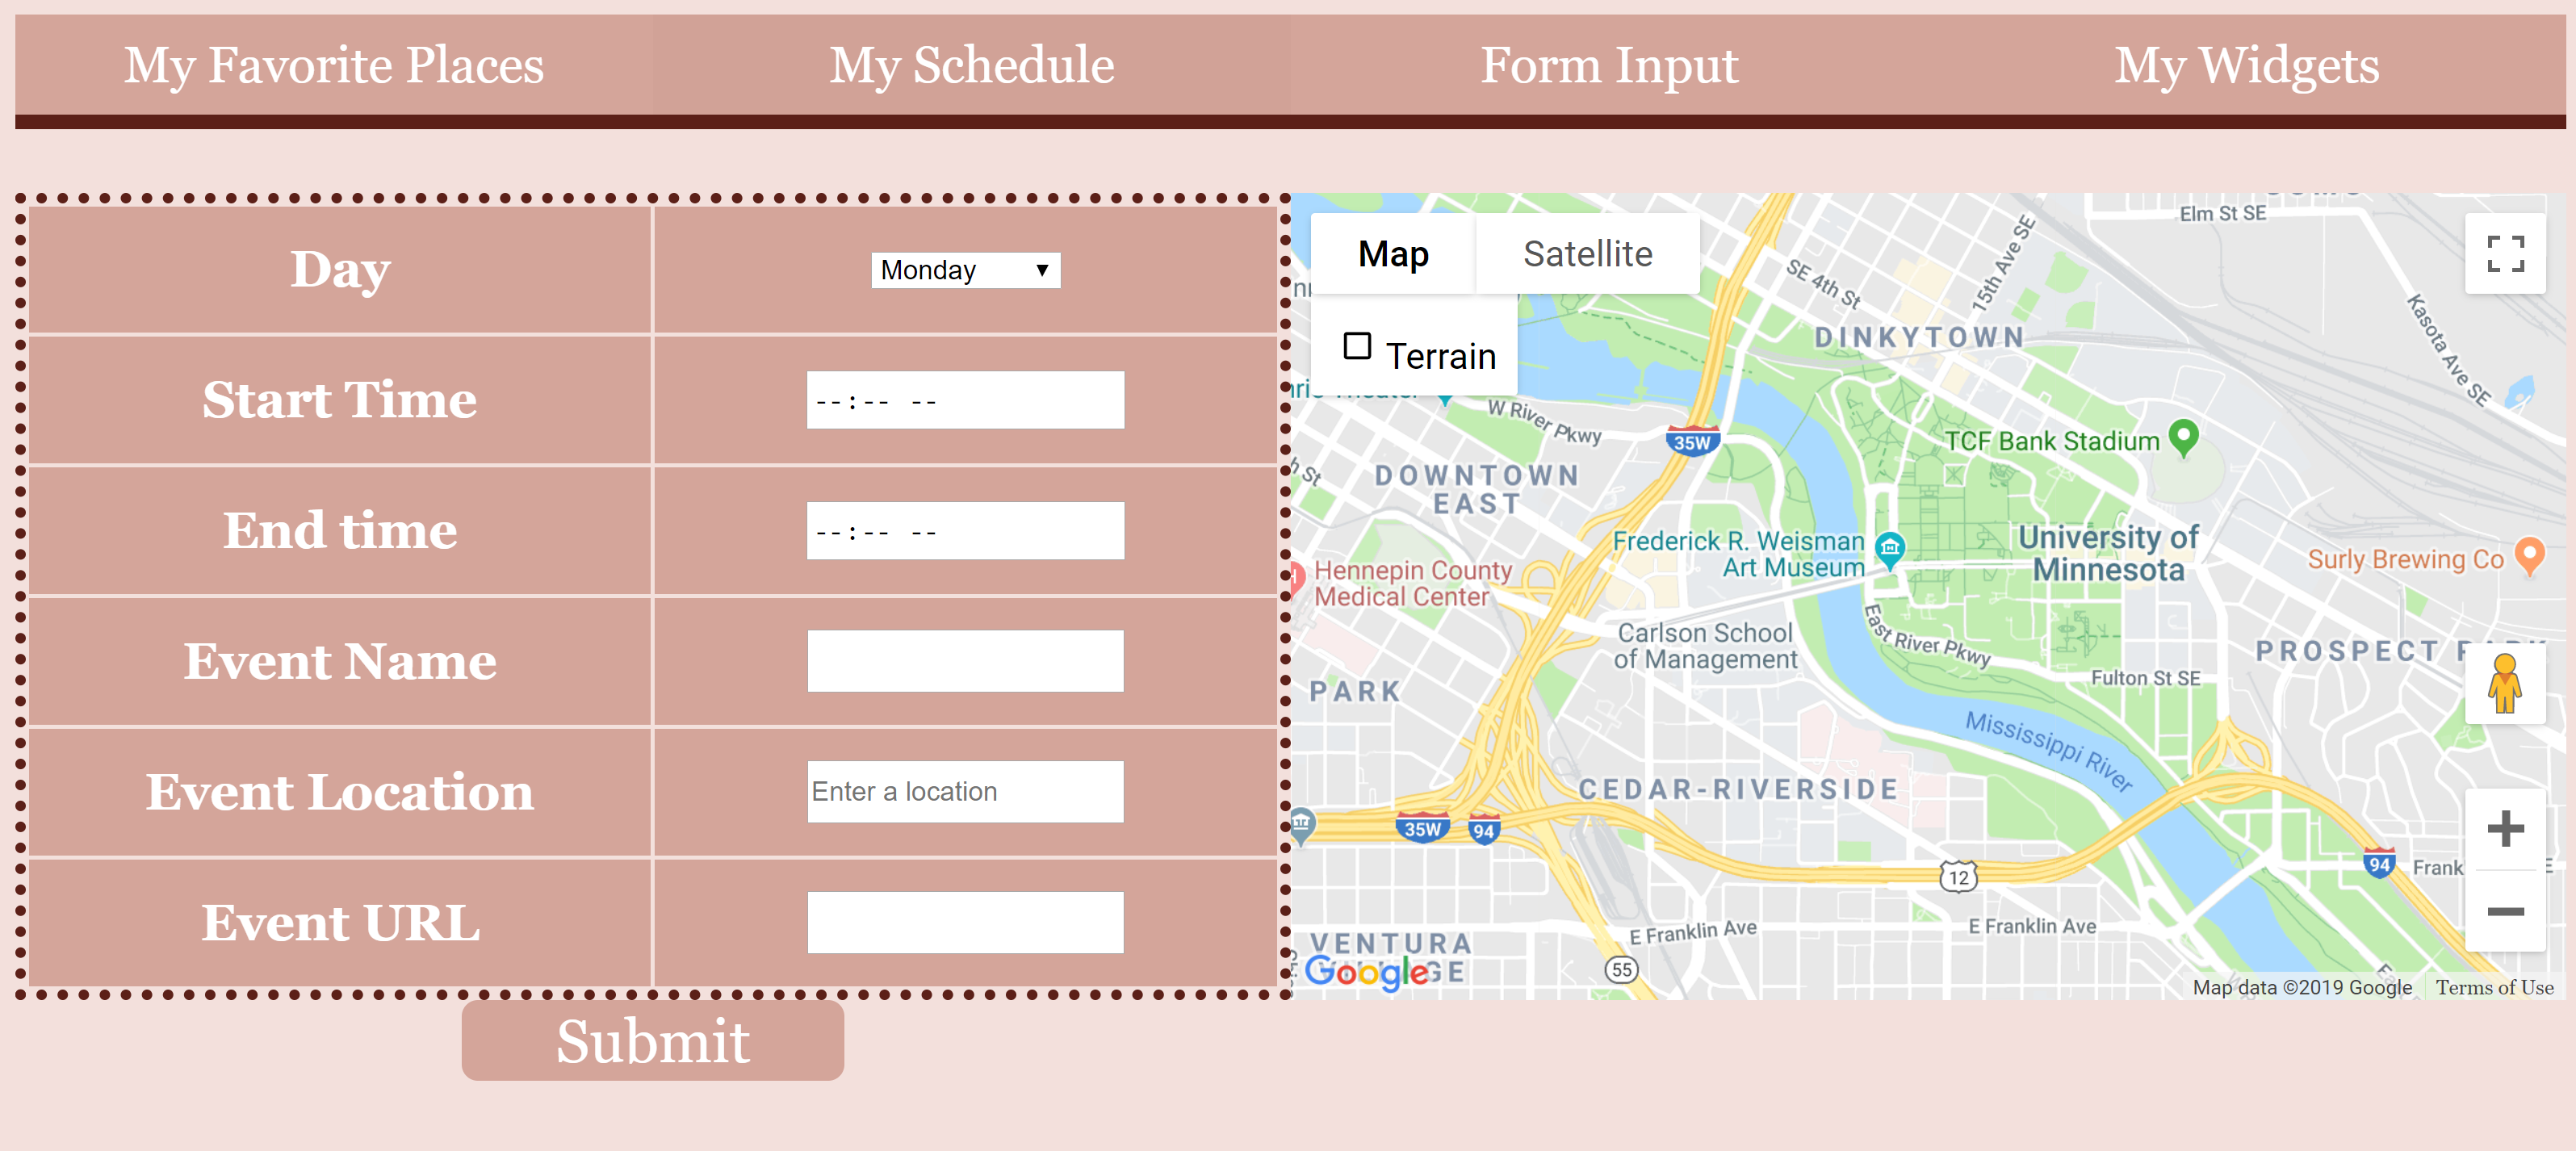
The form input page allows a user to add an event to their schedule. It allows users to input Day, Timing, Name, Location, and URL to the event. The user can use the map to the right of the form to select a location and URL, which automatically populates the form when a location is selected. When the user clicks ‘Submit’, the form performs basic validation on the form: if certain fields are alphanumeric, if all input fields are filled out, and date/time ranges are possible, etc. Once the entire form has been validated, the event is pushed into the schedule database, a success message is displayed, and the page is rerouted.
The server-side that enables the client side to perform seamlessly was implemented in two ways: HTTP protocol and Express (Node.js). When started, both established a socket and bound to a port to allow communication. They allowed the client to communicate with the server using GET and POST requests, had the server handle each request, and returned the appropriate response to the client. It also used SQL/MYSQL to create, push to, and pull from the schedule database. Furthermore, a simple admin page was added to the client side. It allowed the server to allow login (using a separate user database) and establish sessions for each users.